Ladybug Slim Line Card
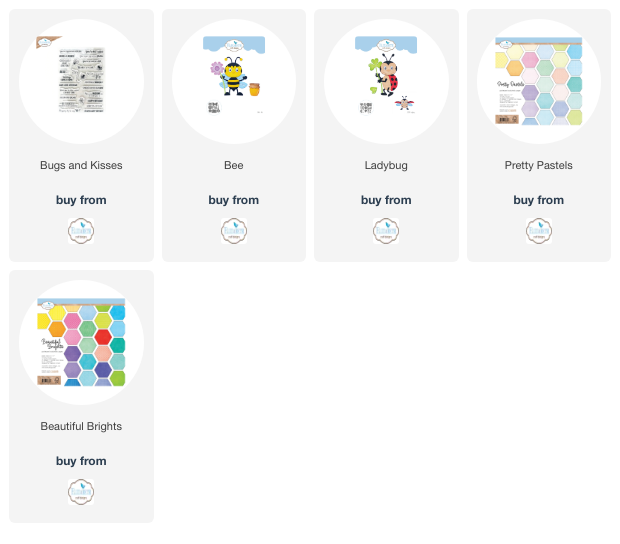
Hi everyone, Katie here with todays blog post. When I received this set from Joset it automatically brought me back to some wonderful memories as a kid, picking daisy's and collecting ladybugs. So today I wanted to create this super fun playful slim line card featuring Joset;s new collection "Bugs and Butterflies". So grab a coffee and I will walk you through how I created this card.
Step 1: Cut your ladybugs from coordinating cardstock, the wings are cut from heavy vellum.
The flowers are cut from white and yellow card stock.
Ink all pieces before assembling with Vintage Photo Distress Ink, the cheeks are inked with Flamingo Distress Ink, I used a white gel pen for the dot in the cheeks. As per picture bellows.
Step 2: Choose your favorite slim line die, the one I used was from Photoplay. Next, I cut a piece of background paper and acetate to fit the card front and assemble. I like to use a bit of acetate as it creates a bit of a shimmer behind the card. then cut and fold your slimline card base.
Step 3: Next, attach your flowers and pop dot your ladybugs.
Step 4: Stamp your choice of sentiment from "Bugs and Kisses" and pop-dot to your card.
Step 5: Splatter your card with heavy acrylic paint.
Thank you for joining me with todays blog post, if you have any questions about my card please send me a message on Facebook Katie Porcina. Happy Crafting.


