Halloween candy wrappers
Hi everyone, it's Sylvia today on the blog for you. We are already halfway through October and the fun, yet buzy time is rapidly approaching. In just 2 weeks it's Halloween, so if you would like some quick candy wrappers, then here's a simple tutorial for you. Over here in the Netherlands, the kids are starting to like the "trick or treat" part more and more, and although not everyone participates in the Halloween celebration, more families do, so let's get started!
Step 1: pick some bright coloured cardstock in Halloween colours (black, bright green, bright orange, purple) and cut pieces of 2,5 x 6 3/4 inch (6,5 x 17 cm), score at 3 - 3,5 - 6 1/4 inch (7,7 - 8,8 - 16 cm). Fold every scoreline to form a matchbox that can hold a little bag of candy. (Please adjust given measurements, if your candybag is larger or smaller). From matching Halloween papers, cut a piece of 2 3/8 x 2 5/8 inch (6 x 6,6 cm) and glue that to the front of your wrapper.
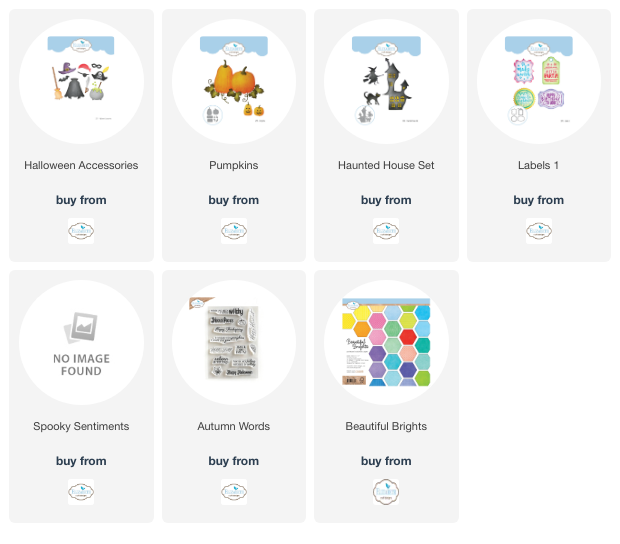
Step 2: Decorate the wrapper with spooky diecuts and/quotes, like e.g. ghosts, black cat, cauldron, witch, broomstick, spiders, pumpkins etc. Cut and stamp a label and staple that in the center at the bottom, so that you can slide it underneath your decoration to keep the wrapper closed. If necessary, you could use a small piece of double sided adhesive to keep the candy in place inside the wrapper.
I hope you liked this easy tutorial. If you have any questions, please do not hesitate to ask. I'd be happy to help you out.
Happy Halloween and happy crafting!
Love
Sylvia


