Last minute Christmas card with gift
Hi all!Today it's me (Sylvia) on the blog again. Can you believe it is actually December already? This year has gone by so fast, just a couple of weeks and we will celebrate Christmas. I guess you will be busy preparing for the holidays, buying gifts, decorating the house, deciding what's for dinner etc. Still I hope you do have some spare time left to craft along with me and create a nice Christmascard with a box at the side that can hold 3 small tea lights. Let's get started!

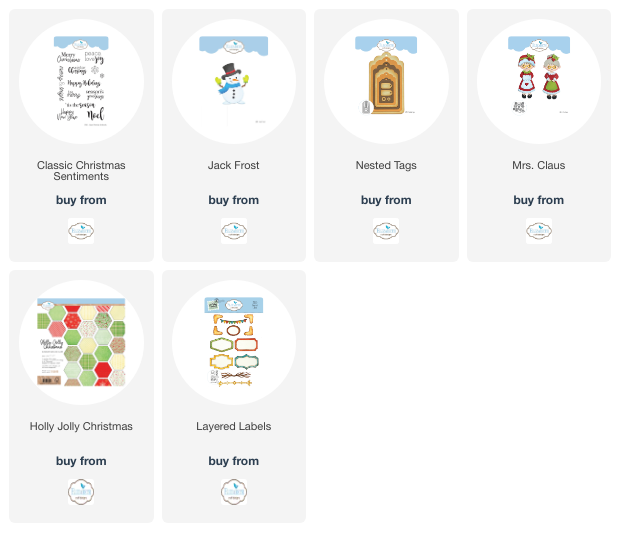
Step 1: take a piece of coloured cardstock of 18 x 29 cm and score on the longest side at 1 - 5 - 7 - 11 - 13 cm . Turn your sheet sidewards and score on the short side at 1 - 3 -15 - 17 - 18 cm (see photo for reference). Cut away all marked pieces, as shown in the photo, handcut a slight angle at the closing flaps. Diecut a small oval exactly in the centre of the widest panel (see photo), using set 2082 (layered labels)

Step 2: Cut the following pieces from matching design paper:
2 x 3,5 x 1,5 cm
2 x 11,5 x 1,5 cm
1 x 11,5 x 3,5 cm (diecut the same oval exactly in the center of this piece)
1 x 11,5 x 11,5 cm (adjust if necessary, depending if you want a pocket)
Diecut the 1 next to the smallest tag from set 1998 in the same colour as your cardstock.

Step 3: Fold all your score lines and ink the edges. Round the corners of all design paper pieces and ink the edges as well. Glue them to the sides and top of the box, while it is not assembled yet (it is much easier to do this step now, but you could also do this after assembling the box). You could line your oval with vellum or acetate in this step, if you want to.


Step 4: Assemble the box and slide 3 tealights in. Take a piece of ribbon of approx. 60 cm, centre and glue it at the bottom of the tealight box. Now glue the box with the attached ribbon to the side of the card base. Fold the pocket up and glue the sides to the card base.

Step 5: Diecut and assemble Mrs. Claus (or any other character you like) and adhere her to the tag. Diecut another label in matching designpapers, stamp it with black ink and a Christmas sentiment and adhere it to the pocket. You may vary with this card pattern (e.g. leave the pocket off, and adhere a character directly to the card).

Should you have any questions, please do not hesitate to ask, I'd be happy to help you out.
I hope you enjoyed my little card and if I don't see you around this year anymore, I hope you and your loved ones have a very merry Christmas.
Happy crafting!
Sylvia