Art Journal Pages
Hello all,
Here I am again, and this time with a blog with a tutorial from the fantastic art journal specials.
This time I'll show you how beautifully you can combine old and new! And how you can turn it into a super fun mini project without having to do it in a journal. This is also nice to give as a gift, for example.
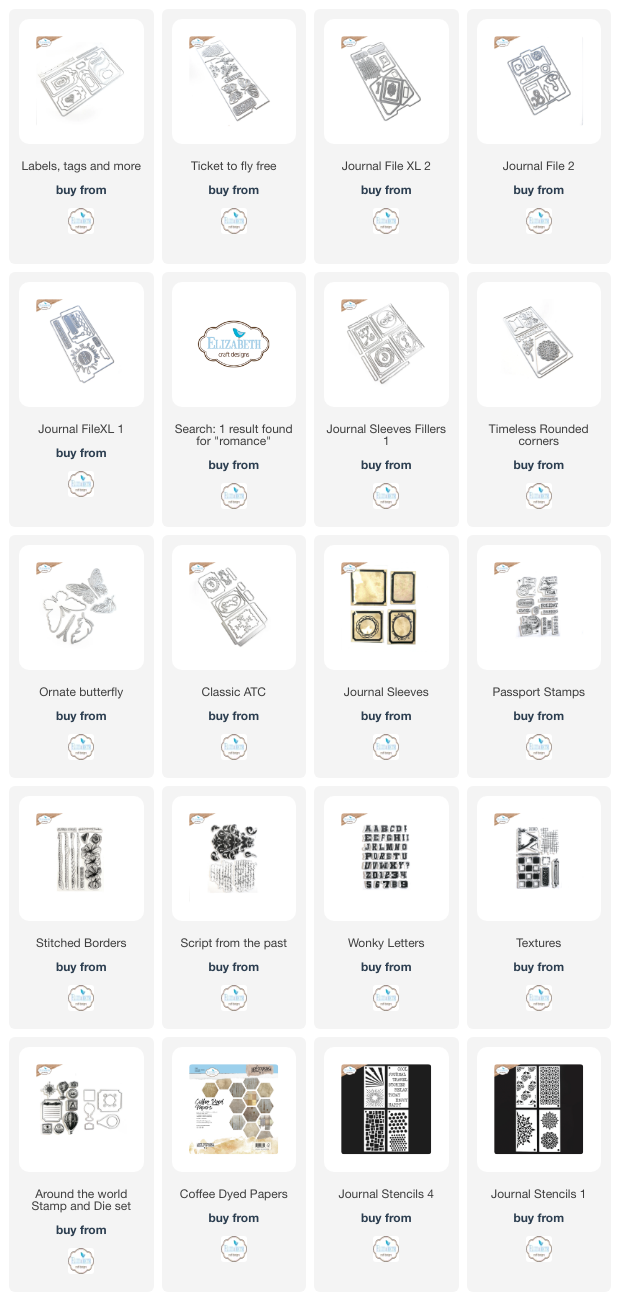
Step 1 is cutting out your base material. For the cover I used number: 2016 journal file xl 1.
To make it into a real file, I used a die from number: 2017 journal file 2. And I also used this for the pages and cut them in half. For variety I also used the inserts and tag from number: 2160 romance
To make everything look old and "damaged" I used different materials such as oxide, sharp objects, I wrinkled the paper first before lightly going over it with oxide...
And to name the file, the wonderful wonky letters CS360 from the latest release.
As a basis I started stamping and used different stencils to dress up the pages and give them some color.
Then I added various elements from all kinds of releases, I will make a list below of everything I used, but you can of course also see for yourself what you like. Photos were added and the fantastic sleeves from the latest release, which gives your project that little bit extra.
You build up the pages until you like them. I like stamping different things together in the background and using color through stencils.
This is what my pages turned out to be.
Then I secured everything with a small staple just like a real file.
And your file is ready ❤️


