Autumn Butterfly Card
Hello everyone! My name is Diane Prince and I’m sharing a card I made using different wonderful floral collections. All the collections are so versatile, you can use the Round Ornaments from the Joyous Christmas collection for any season if you want, you just have to “dress it up” for the occasion! Here’s an example for the fall season.

Step 1: For the card base, score a 12” X 6 ¼” piece of white cardstock at 3 ¾” and at 8 ¾” lengthwise. Fold each panel towards the center. Cut out 2 pieces of patterned cardstock for the front panels and cut 3 pieces of the same cardstock for the center section. Each of those 5 pieces are about ¼ of an inch smaller than the piece they will be attached to. On my card I used the new La Dolce Vita cardstock from Esther Glas.

Step 2: Using the #2155 Joyous Ornament – Round die set, die cut 3 times the full circle in some coordinating paper. Shade the edges with some Distress oxide.
Using the #2087 Floral Foliage 1 die set, die cut 5 different leaves in the same cardstock as the Round Ornaments. With Distress oxide, color the leaves with some autumn colors. Shape the leaves with a stylus.

Step 3: From the #2119 Layered Butterflies die set, die cut all the pieces for the medium size butterfly. With Distress oxides, color all the parts of the butterfly using fall colors. Assemble the butterfly.
Die cut one of the small circles from the #2157 Joyous Ornament – Stars 1 die set. On this card, I cut the circle from gold cardstock. Glue the butterfly on to the gold circle.

Step 4: Die cut the 2 smallest poinsettias leaves from the #2151 Florals 29 die set, with some White Soft Finish Cardstock. Color the leaves with orange-red Distress Oxide and shape them. Glue the smallest leaves on to the bigest one. Add a white enamel dot in the center.
Die cut 8 times the smallest center and 8 times the biggest center from the die set # Florals 30, in some White Soft Finish Cardstock. With a fine-point blending brush, add some green Distress oxide in the middle of each center. Shape the centers and assemble 2 small pieces on top of 2 biggest one. Repeat for the remaining 3 flowers. Add some green Prills in each flower.

Step 5: Put some double-sided adhesive on the back of the panels and adhere the two front panels.

Step 6: Adhere one of the Round Joyous Ornament on the front left panel. Make sure to glue a twine underneath the ornament to close the card later. Open the card and adhere another Round Joyous Ornament on the left panel. On top of this ornament, adhere the left rectangle panel. Adhere the middle panel and the right-side panel. Finally, adhere the last Round Joyous Ornament in the middle of the card. This last one will be for writing a sentiment.

Step 7: Glue the leaves and the flowers (except a white one) on the card. Also, adhere the butterfly. Using a glue gun, glue a metal spacer on the right side of the front Round Ornament, let dry. Glue the remaining flower on top of the spacer also with the glue gun. When dry, wrap the twine from the back of the card to the right side and wrap around the flower with the spacer to close the card. To this card, I added a jewelry dangle at the end of the twine to finish the card.

Have lots of crafty fun creating your own florals and card.
Make sure you share them with us in our Facebook Group HERE. We love to see what you create!

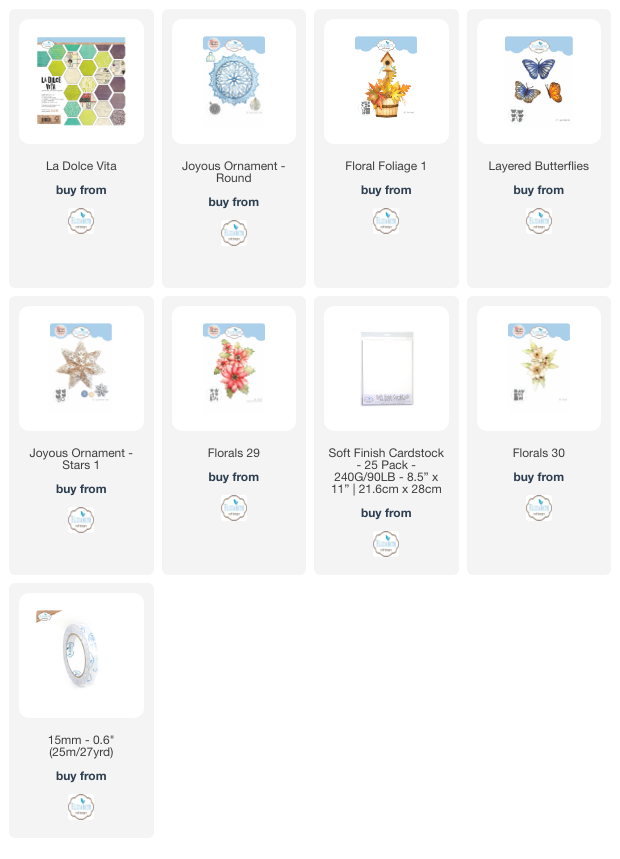
Elizabeth Craft Designs Products Used: