Faux Embossing!
Hello everyone!
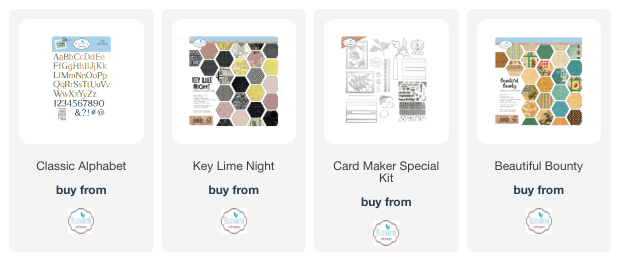
Today I want to share with you how to create faux embossing cards using your dies. I made two different green cards that are so easy to make! I am using the new amazing dies from Annette Green's new special die kit, the “Beautiful Bounty” card makers special from Everyday Elements! So enjoy the process and follow the instructions I share with you!
Step 1: Cut a card base in ivory card in the size you prefer to create cards. Cut a piece of green paper (or other color) with the exact same size of the front of your card.
Step 2: Adhere the green paper to your card base.
Step 3: Using the same green paper, put double sided adhesive on the back and cut out several leaves.
Step 4: Adhere the leaves all around the front of your card, in different directions until you cover all the space, like you can see on the photo.
Step 5: Cut any excess away of the leafs hanging over the edge of the card.
Step 6: Prepare your sentiment. For this card I cut the word FALL (Using double sided tape adhesive on the back again so it’s easier to glue.) Cut the letters 3 times each, and layer one on top of the other to create depth.
Step 7: Stamp a sentiment that you love to add underneath the word FALL.
Step 8: Distress around the card with peeled paint (green) and vintage photo (brown) distress ink, and also distress the letters with vintage photo distress ink. And you card is ready!!
If you want , you can also add in the interior, this card holder from the same set created by Annette Green.
Have lots of crafty fun creating your own card.
Make sure you share them with us in our Facebook Group HERE. We love to see what you create!
Elizabeth Craft Designs Products Used:


