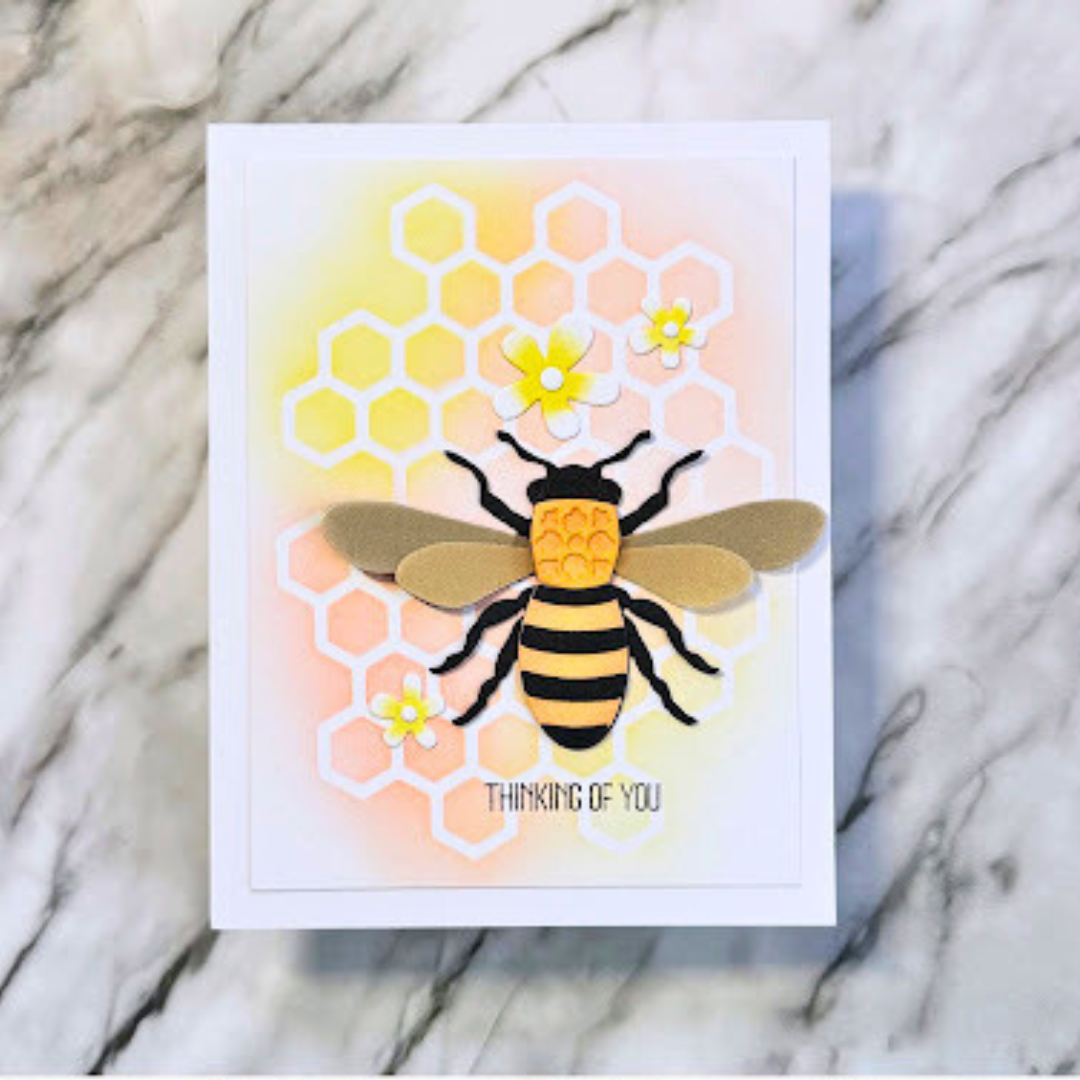
Quick & EZ card with the Layered Honey Bee!
Hi everyone,
It's Tina here. Today I am sharing a card using the Everyday Elements from Elizabeth Craft Designs. It is using one of the older dies "Layered Honeybee". It is a favorite of mine. Below you will find the steps to create your own card.
Step 1: Trim a piece of White Soft Finish Cardstock to 4 1/4" x 11", score at 5 1/2" and fold in half to create a horizontal top fold card. (A2)
Step 2: Die cut the Layered Honeybee die (honeycomb image) using White Soft Finish Cardstock. Place on top of a panel trimmed to 4 1/4" x 5 1/2". Using it as a stencil. Apply inks of your choice using a Blender Brush. I used soft yellow and soft red. inks


Step 3: Diecut Fitted Rectangles using the panel created from Step 2. Adhere to card front using 3mm Clear Double Sided Adhesive.
Step 4: Diecut Layered Honeybee (bee and flowers) using various colors of Cardstock. (For some I used White Soft Finish and used a Blender Blush to apply color of my choice.) Assemble and adhere to card using Kids Choice Glue.
Step 5: Stamp Build Your Own Sentiments using Versafine Onyx Black Ink to the bottom of the of the card.
This card is perfect for several occasions, just change the sentiment and/or colors. Thank you for stopping by and Happy Crafting!
Make sure you share your projects with us in our Facebook Group HERE. We love to see what you create!

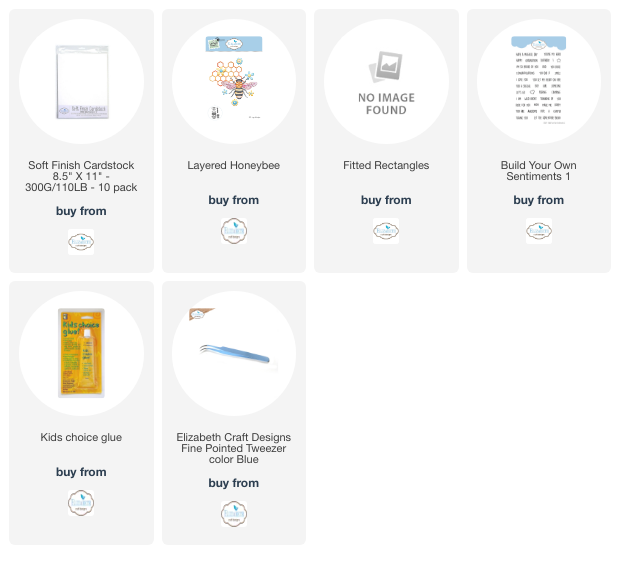
Elizabeth Craft Designs Products Used: