Faux Wax Seals
I’m Cindy Sugerik and I live in Northern Ohio about a mile South of our beautiful Lake Erie. This is my first year as a member of Annette Green’s ECD Design Team and also my first ever blog. I’ve had so much fun being challenged each week as I work on my weekly journal while utilizing all of the wonderful dies and stamps that are created by ECDs remarkable Designers.
My project is making Faux Wax Seals. I never invested in waxes and the tools required to make them. I prefer more flatter images on my journal pages which is why I love making my own seals. It’s so easy using Annette’s dies and it’s a wonderful way to make use of your scraps! Let’s get started.

Step 1:
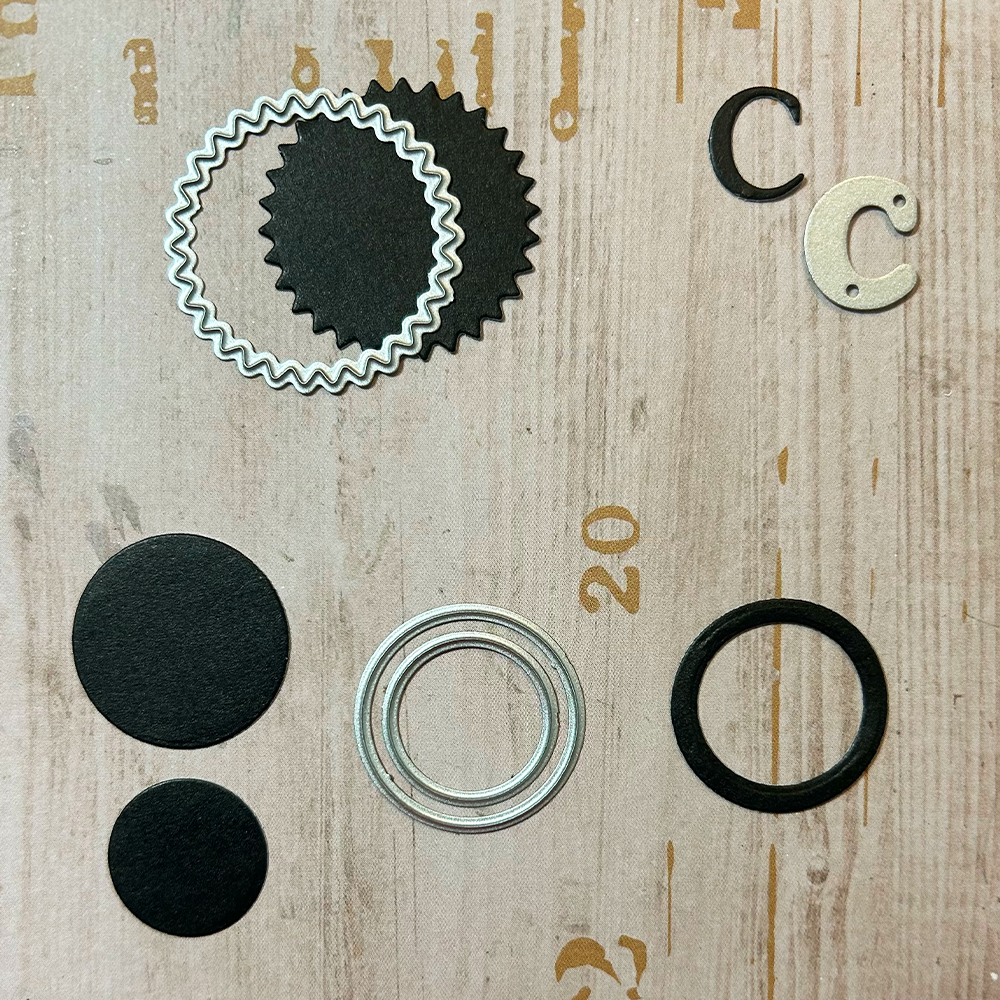
Select two of the circle dies, one measuring 1” and the other 3/4”, plus select the 1-1/4” starburst circle.
Step 2:
Take the two circles and cut them at the same time from a decorative (or solid) paper to form a ring as shown in photo 2.
Step 3:
Take the starburst circle and your lowercase initial from the alphabet set and die cut both out of a decorative paper that can be the same paper or one that complements the paper you used for the ring in Step 2.

Step 4:
Burnish all edges. I used my new favorite Distress Oxide ink, scorched timber.
(Tip: Once I pick out the dies and scraps, I just start die cutting and pairing colors. After I have 10 or 12 of each die cut, then I go down the line burnishing each piece and finally assemble/glue together. It goes much faster than doing one at a time.)
Step 5:
Center and glue the ring on the large starburst circle. Then center your initial in the center of the ring and you are done!

Examples of two projects where the seals were used:
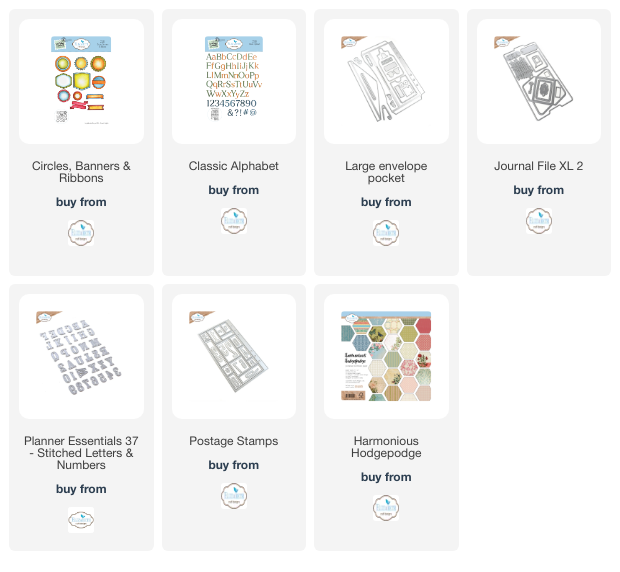
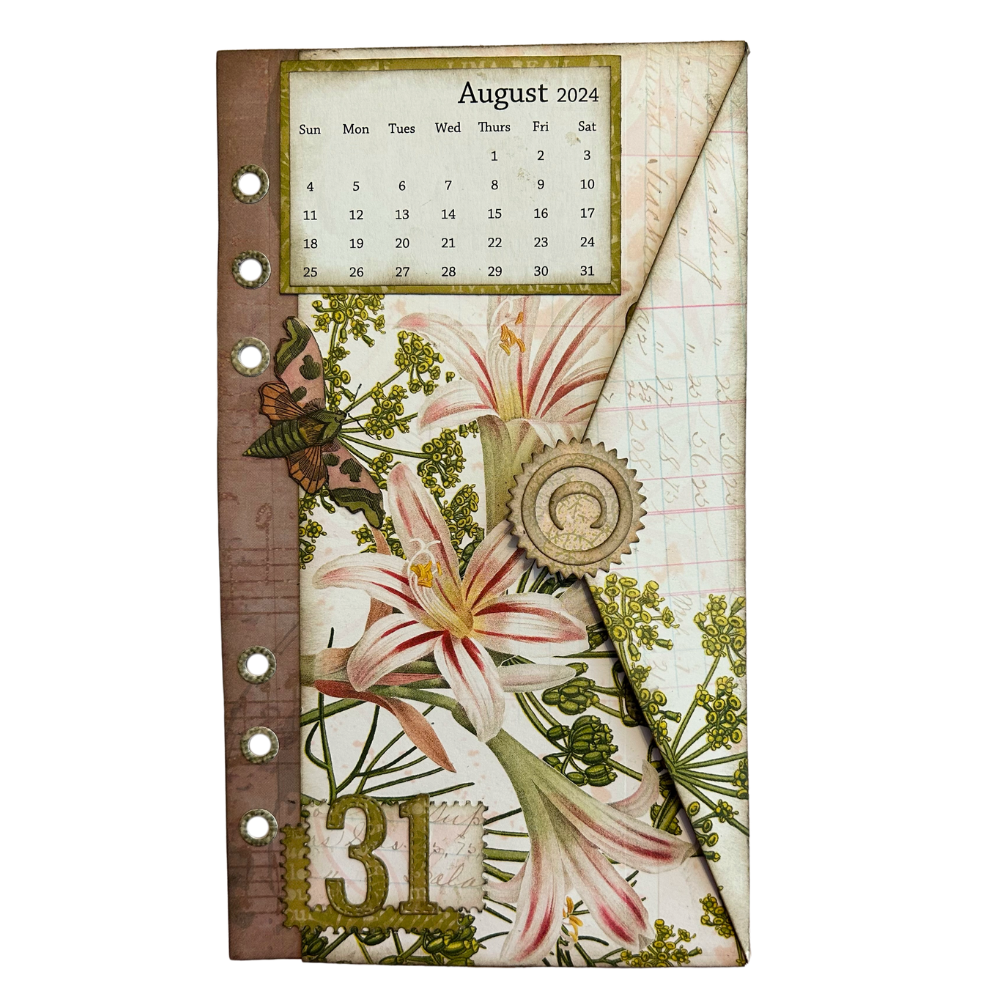
Page for Week 31 In my weekly journal. Tools used: Esther’s Large Envelope Pocket 2142, and Postage Stamps 2075. Plus, Annette’s Harmonious Hodgepodge paper and the Planner Essentials Letters & Numbers 1863. One faux wax seal.
Ephemera for Week 32. Tools used: elements from David’s XL2 Journal File 2015 and Journal Phrases CS294. One faux wax seal (made with smaller circle/starburst dies.

I encourage you to give this project a try. You can make a collection of these faux wax seals for all your different paper collections, so you have them in your stash to add to a project as needed. These instructions are the basics – you can use unique papers or emboss the ring and initial, or emboss it all, to give it a different texture and look. This is such a fun way to use up scraps and have seal elements on hand for future projects. Happy Crafting!
Blessings,
Cindy
Elizabeth Craft Design Products used: