Everyday Folio
Hello everyone! Happy to be here!
Although I’ve been a member of the ECD team for years, this is my first blog. As a member of Annette Green’s Everyday Elements team, I used her collections to make a folio.

Now you still don’t know a lot, but I will show you the process in pictures.
The cardstock is 30,5 in width and 15 cm in height.
Score at 9, 10, 23 and 23,5 cm
Cardstock (same color as the first piece of cardstock) 3 cm in width, 15 cm in height.
Score this small piece at 5 mm, 1,5 cm, and 2,5 cm
Glue the middle part together to create a ‘mountain’ (see pictures, the bottom blue part) on which you can glue extra pages of (in this case) file folders.


6. Glue down the mountain in the left-scored part (between the 9-10 cm scoring part). It should fit, if not cut the mountain part a bit so that it will fit.
7. Your base is ready.
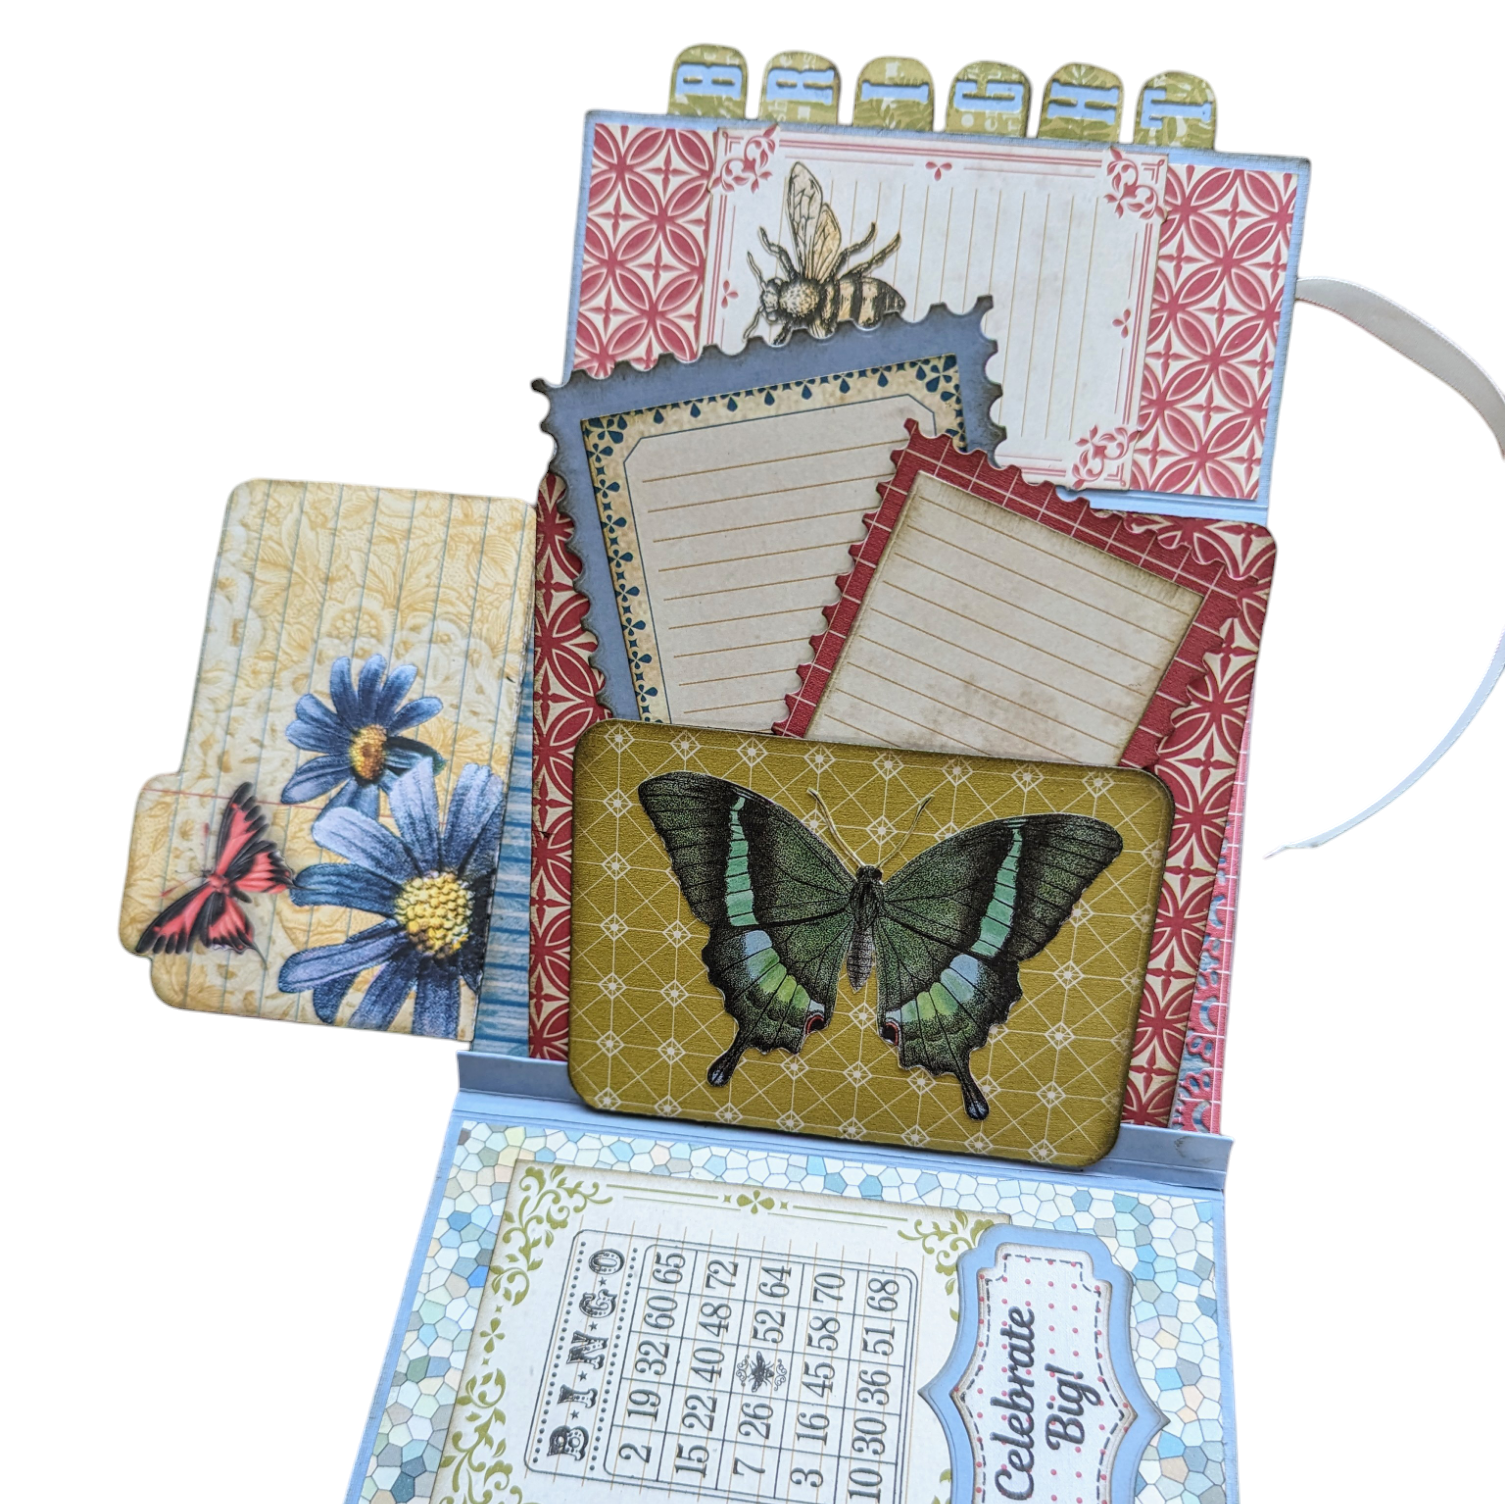
So, time for the design paper for the front of the folio, the gorgeous Harmonious Hodgepodge paper! Use it as you like, cover all the cardstock, or cut it so that you’ll get a mat layer. Up to you! What I did extra, was using the file folder (flap) from the AJS Journal FileXL die-set on top of the middle part of the folder. I’ll show you pictures:


I added the page of the AJS Journal FileXL 2 set on the right sight of the ‘mountain’ part and the smaller AJS Journal File 1 page die on the left part of the ‘mountain’ part. I decided to make it a double pocket (I glued the back part of the smaller file folder to the bigger one and created an extra pocket).


As you can see I used the Postage Stamps dies as labels for the pockets. Of course you can glue down pictures on them and use the folder as a mini album. Always fun to do!
Time for the back of the folio. Before I added design paper on the back I did two things. First I glued a piece of ribbon on the back that fits around the folder so I can close it properly.

On the right part of the folio I added the Planner Essentials Alphabet Tabs before I added design paper:


After that’s all done it’s time to decorate!
On the front of the folio I used the Classic Alphabet die-set.

And I used a lot more of the Everyday Elements collections, these are pictures of the end result:


If you’re going the create this folio, have fun! And please show it on the FB group Elizabeth Craft Designs Family. We would all love to see your work.
I wish you a very nice day.
Love, Reanna
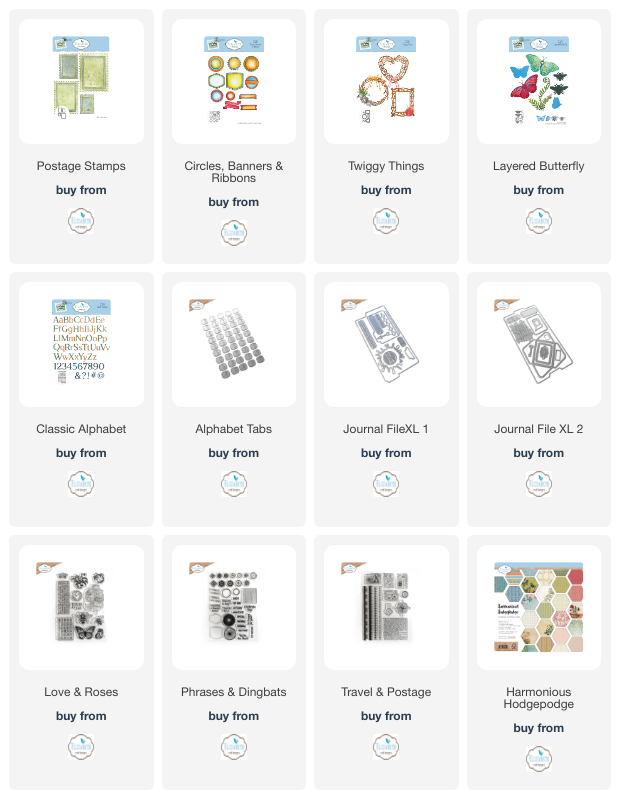
Elizabeth Craft Design Products used: